When and How to Start Inside Plants for Spring Garden
December 21st (Winter Solstice) is the shortest day of the year and also one of the coldest. Just when you want to be hunkering down with a good book or your smartphone in front of a cozy fire, you should be digging out your seedling pots, and setting up your indoor grow space. If you want to get a jump on the spring season without spending a fortune on plants at the local nursery then now (January and February) is the time to be planting seeds.
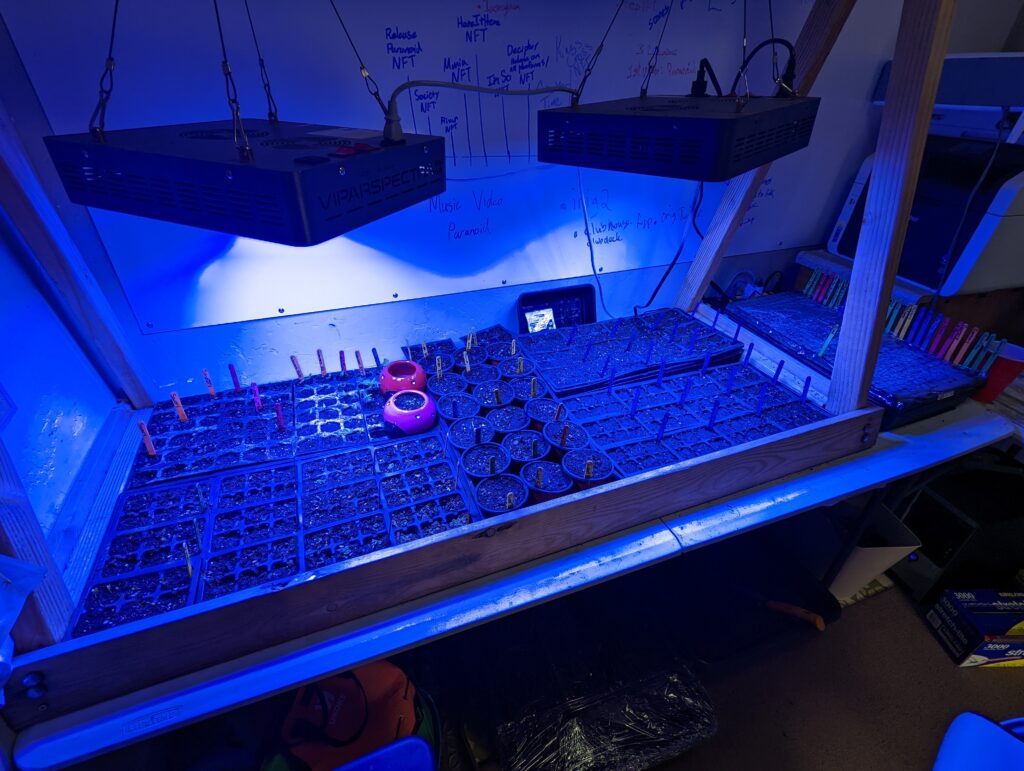
We actually plant Tomatoes and Peppers in Mid-Late January, so the plants are pretty large and established by the time they go in the ground after Mother’s Day in May. Here in Prescott Valley we are Agricultural Zone 7. At 5100 feet, we have a shorter growing season than some. It’s best to wait until the danger of frost has passed.
To increase your germination rate and maintain healthy seedlings/plants you will need a few essential items to set up your indoor grow.
- Pots:
Start with smaller pots and have larger pots ready for transplant. Usually a couple transplants from seedling to outdoor. Make sure the pots have plenty of holes for drainage. Put something under the pots that makes your area waterproof.
PRO TIP: The dollar store has small and medium plastic starter pots.
- Seedling Trays:
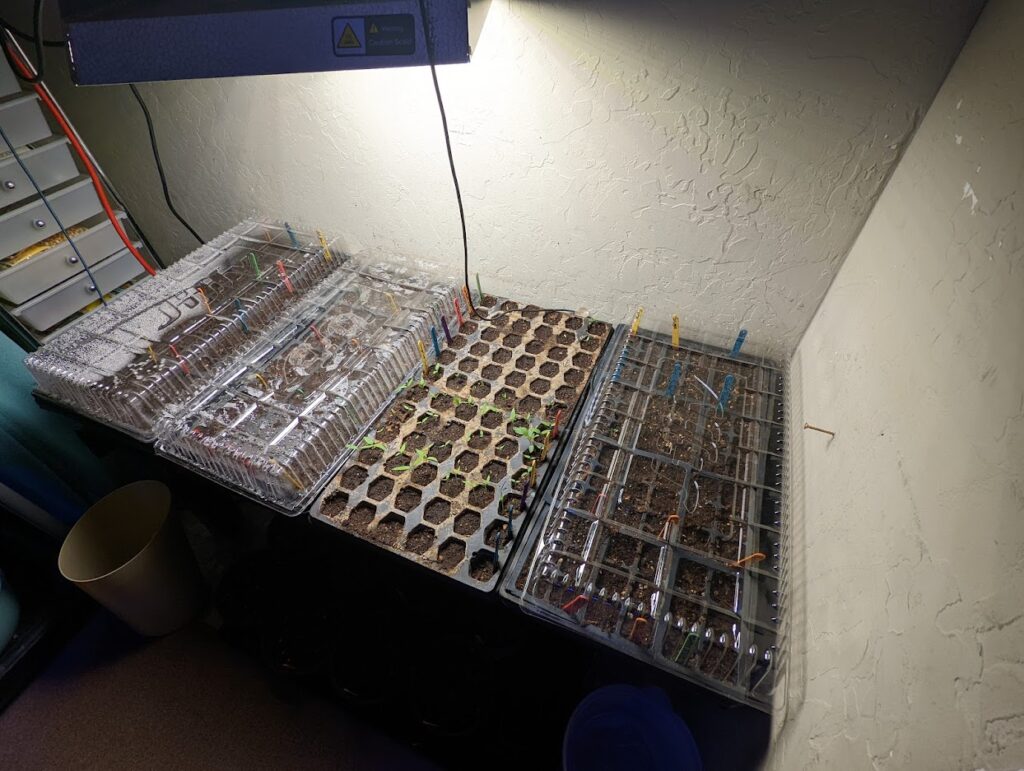
You might need to pick up some trays from the local nursery. I prefer the 2 piece trays with a plastic grid liner that gives stability and aeration under your plant pots in the tray and a solid waterproof container for water overflow. - Good soil:
See our last article for the Living Soil Recipe we make for all our plants. The nutrients will ideally already be in the quality soil and no extra nutrients should need to be added. - Grow Lights:
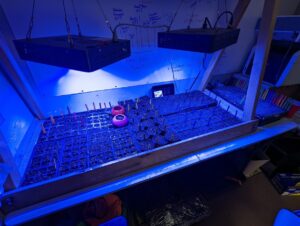
We use 2 LED (600 Watt Equivalent) grow lights.
VIPAR SPECTRA 600W LED Grow Light, with Daisy Chain, Veg and Bloom Switches, Full Spectrum Plant Growing Lights for Indoor Plants Veg and Flower. Get on Amazon. - Heat Mats:
It’s important to have average 70 degrees soil temperature for most seeds to germinate with a high percentage of success. You can get these on Amazon with a thermostat. - Circulation Fan:
It’s important to have fan/wind blowing on your plants all the time. This simulates outside conditions and makes the stalks of your plants thicker and stronger. It also slows the growth so the plants do not become spindly and weak. - Water:
Nothing special here. Just don’t overwater your plants. The fan will also help in evaporating the excess water from your soil. - Labels:
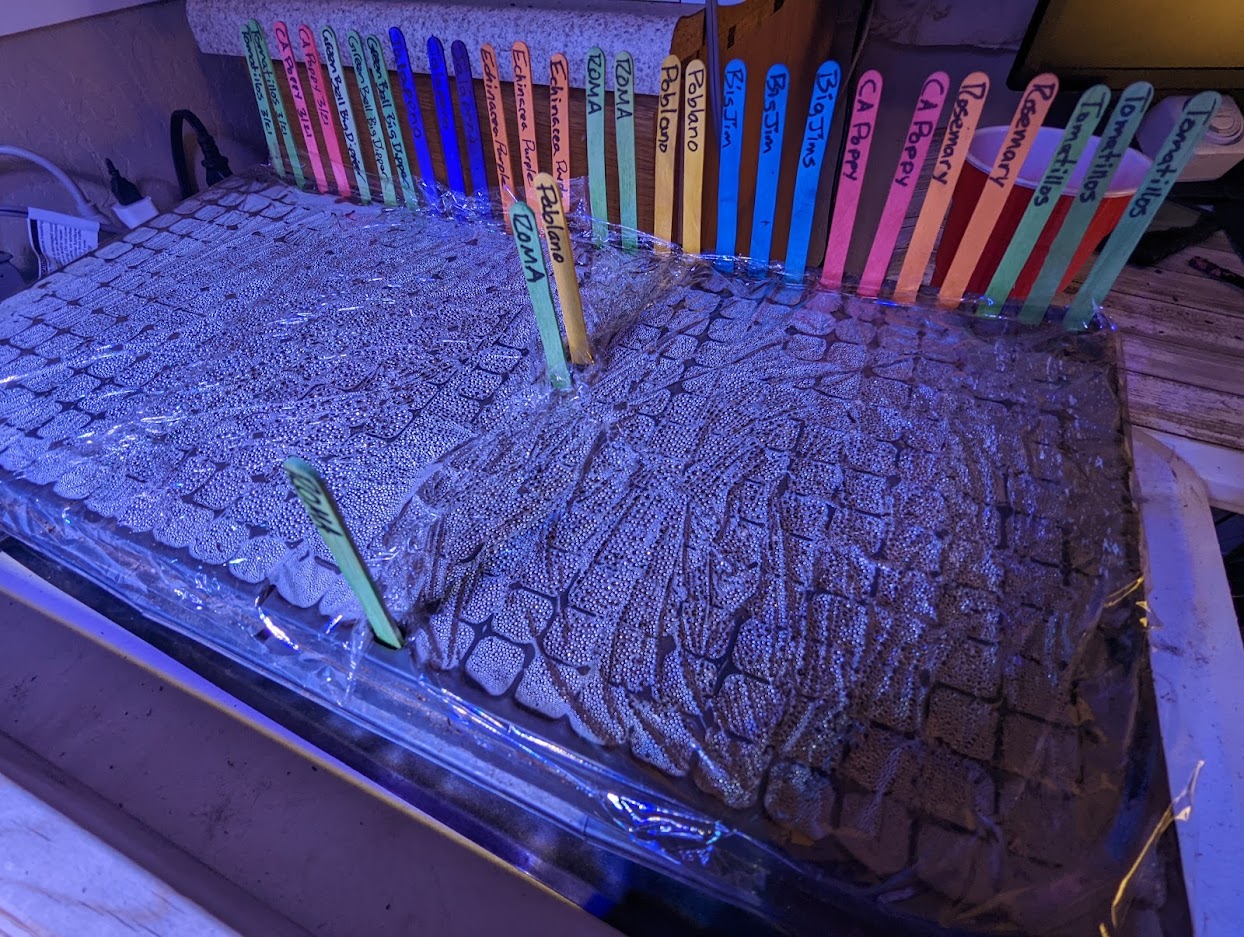
We use Popsicle sticks and Sharpie Markers to label our seed trays and pots. It’s important to mark these again when you transplant to new pots. Otherwise you lose track of what you planted. - Plastic Wrap:
To cover your trays and hold in moisture for the germination process.
First Steps: Starting Seeds
- Grab a seed tray, a stack of cheap pots, and your container of soil.
- Wet your soil thoroughly.
- Fill your containers to just below the top. Lightly tamping to make sure the pot is full of soil.
- I use a chopstick to make holes according to proper depth directions on the seed packets.
- Plant your seeds and label your individual pots. (This takes a while)
- Cover your tray with plastic wrap (using the popsicle sticks to keep it off the soil) (remove the cover after your first seeds pop or partially cover the just non sprouted areas).
- Set your tray on the heat mat and put your heating thermostat sensor into one of the pots.
- When your seeds start popping into seedlings, pull those pots out and put them in good light and wind.
This should put you ahead of the game on your summer plants like tomatoes, and peppers which take a long time to get started. As you get closer to Mid May Mother’s Day, it’s good to plant your Squash, Cucumbers, and other Summer Crops a few weeks early to get a jump start on your outside garden.
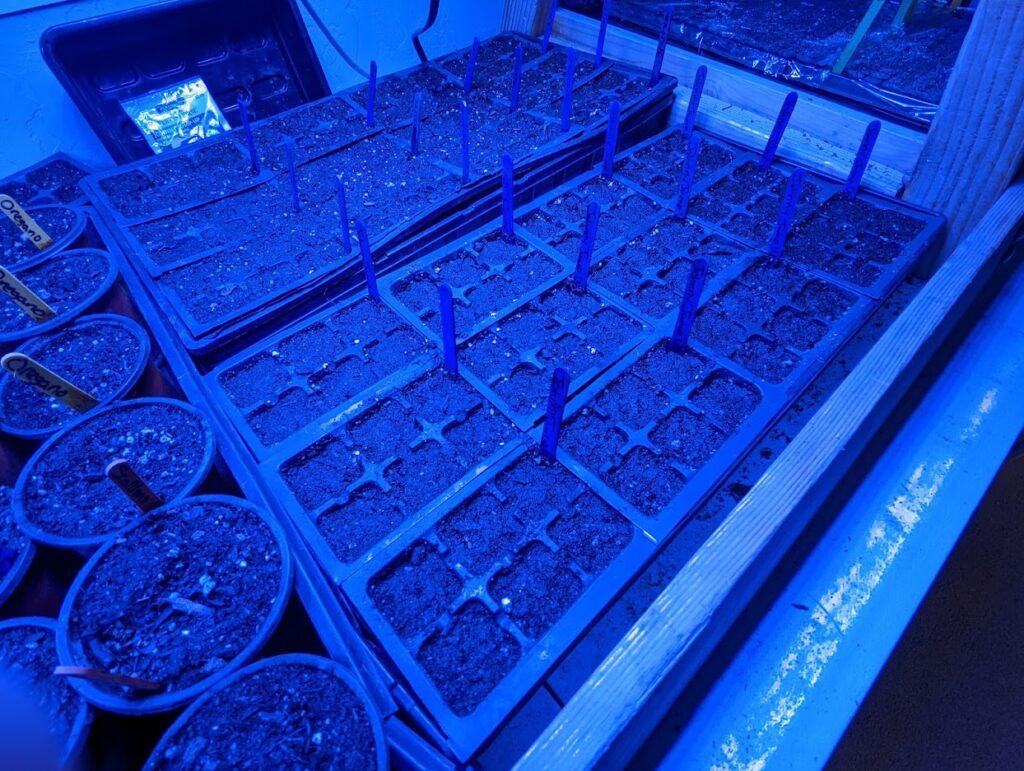
Blue Light Spectrum Trays and Pots
